Four Ingredient Almond Cookies: Simple, Sweet, and Oh-So-Satisfying!
There’s something special about a recipe that keeps things simple without sacrificing flavor, and these Four Ingredient Almond Cookies do exactly that. Crunchy, nutty, and naturally gluten- and lactose-free, these cookies are proof that sometimes, less really is more. With just four pantry staples and minimal prep time, you’ll have a batch of golden, delicious cookies ready to enjoy in no time!
Why You’ll Love This Recipe
These cookies are perfect for when you’re craving something sweet but don’t want to spend hours in the kitchen. The rich almond flavor shines through, making them just as satisfying as more complex cookie recipes—but without the fuss. Whether you’re looking for a last-minute treat, a simple homemade gift, or a naturally gluten- and lactose-free dessert, this recipe ticks all the boxes.
Perfect for Any Occasion
These cookies are delicious on their own but pair wonderfully with a cup of coffee or tea. They also make a great homemade gift—just pop them into a jar or tin for a thoughtful treat. Since they’re naturally gluten- and lactose-free, they’re a fantastic option for those with dietary restrictions.
Get Baking!
With just four ingredients and a few simple steps, there’s no reason not to whip up a batch of these delightful almond cookies. Quick, easy, and full of flavor—what’s not to love?
Four Ingredient Almond Cookies
Equipment
- Whisk or Spoon
Ingredients
- 1 cup of almond butter
- ¾ cup of brown sugar
- 1 large egg
- 1 tsp Nielsen Massey Pure Vanilla Extract
- pinch of salt
Instructions
- Preheat the oven to 350°F (175°C) and line a baking sheet with parchment paper.
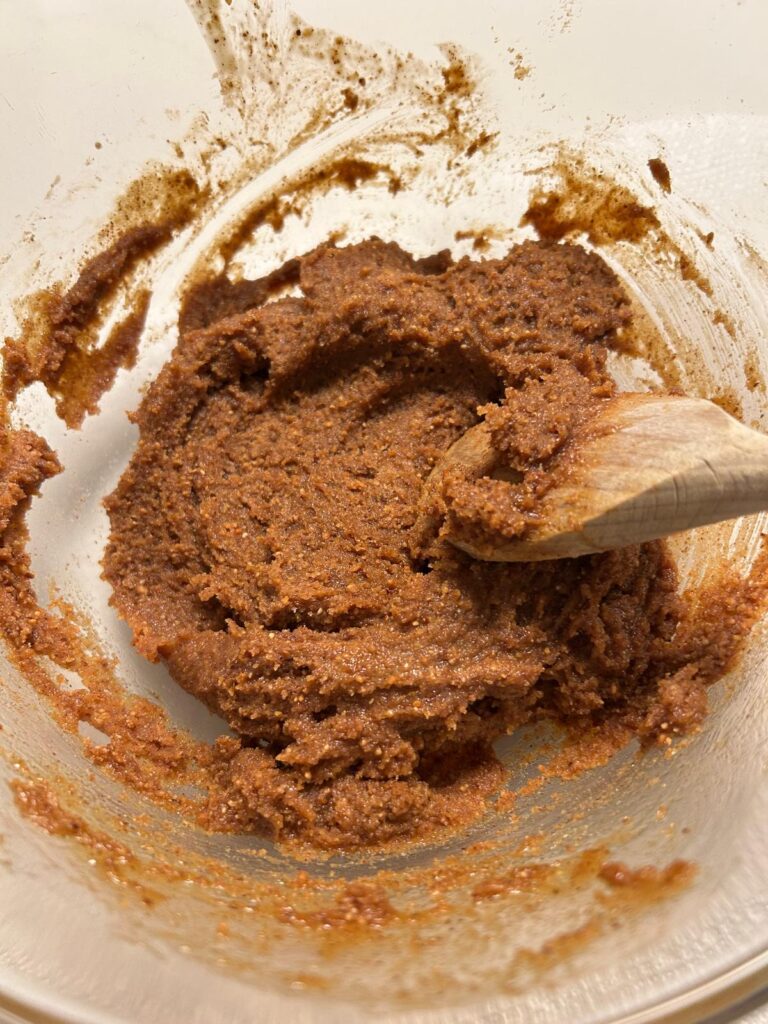
- Add all ingredients into a mixing bowl and stir until combined.

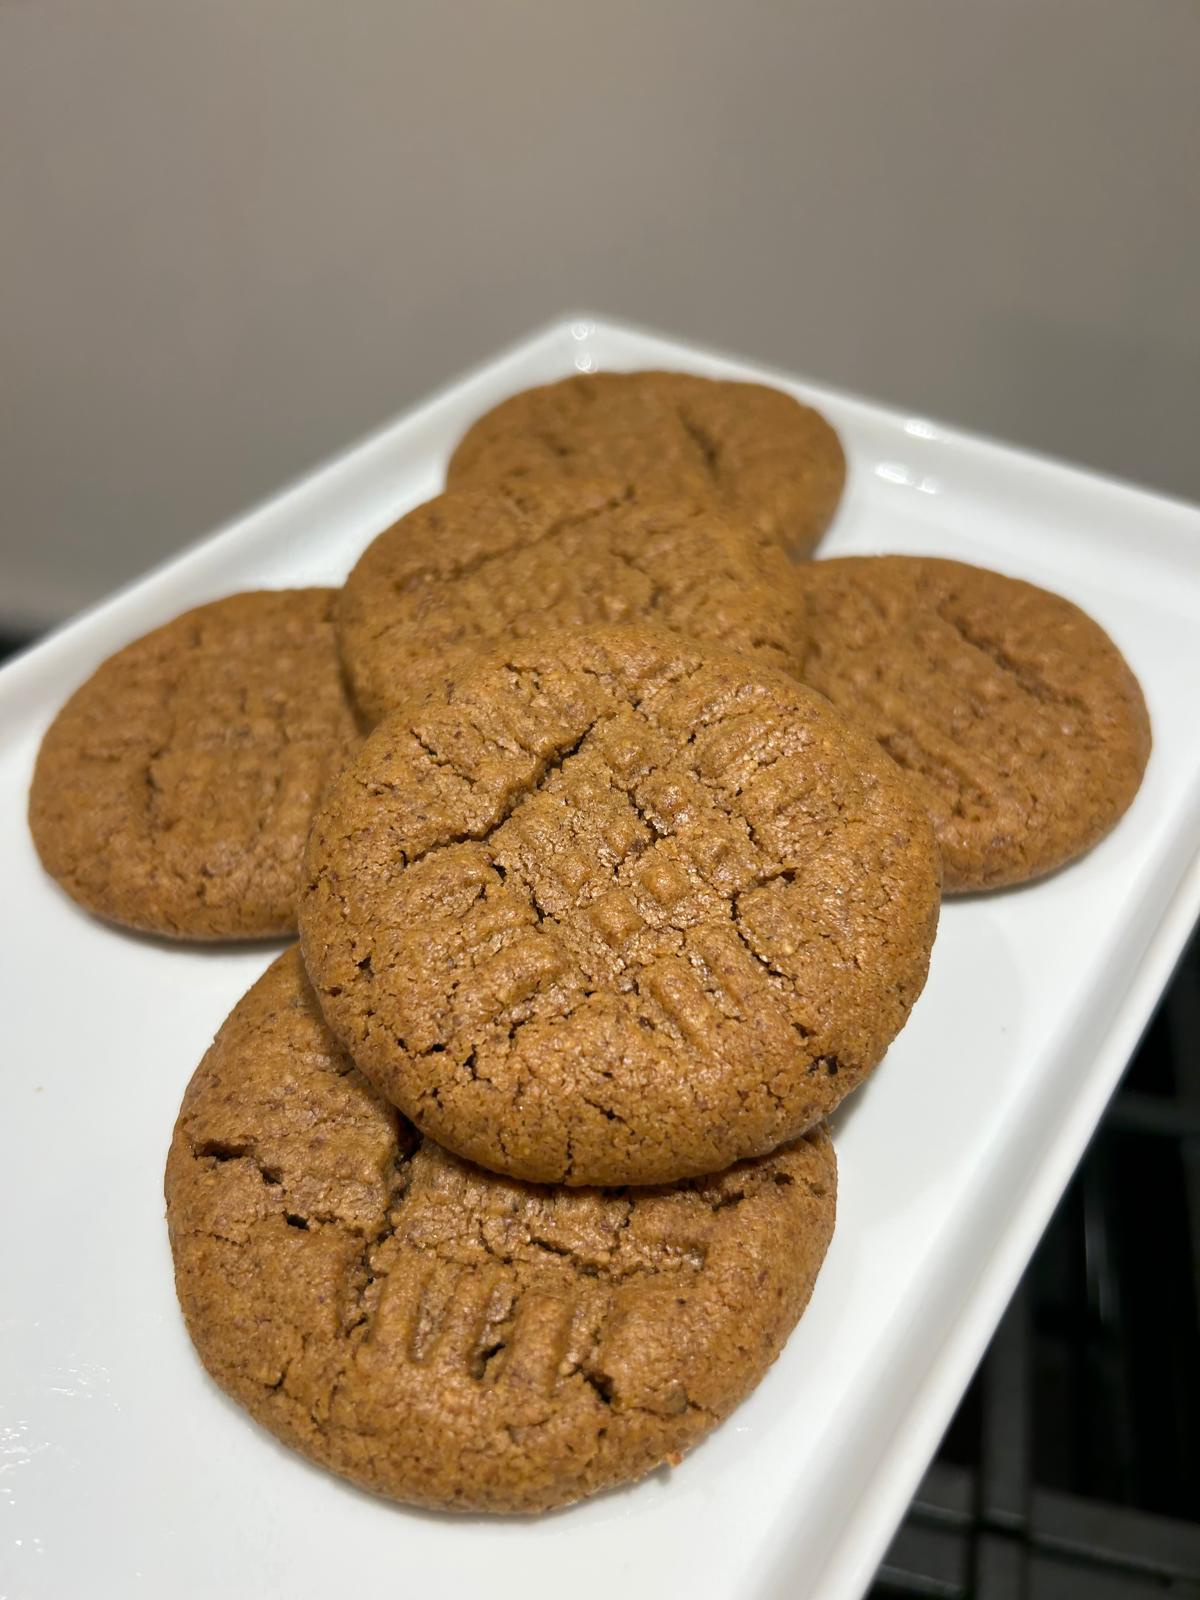
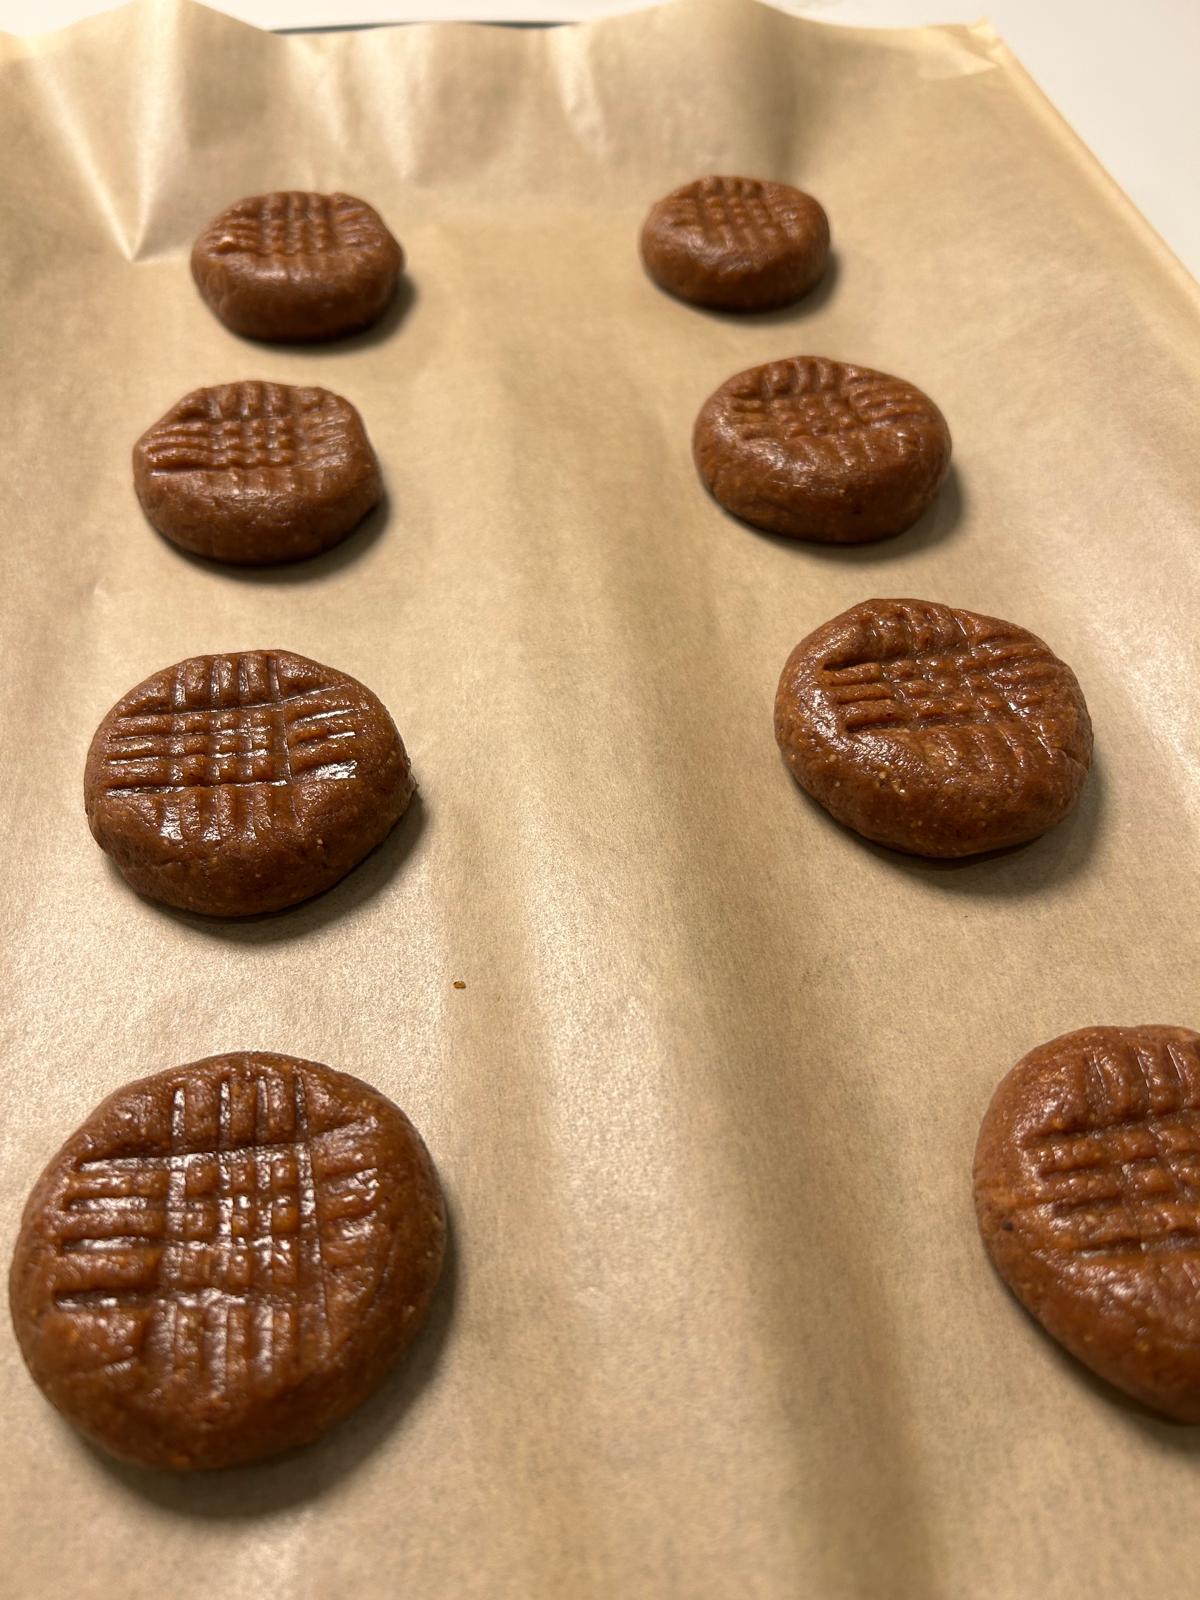
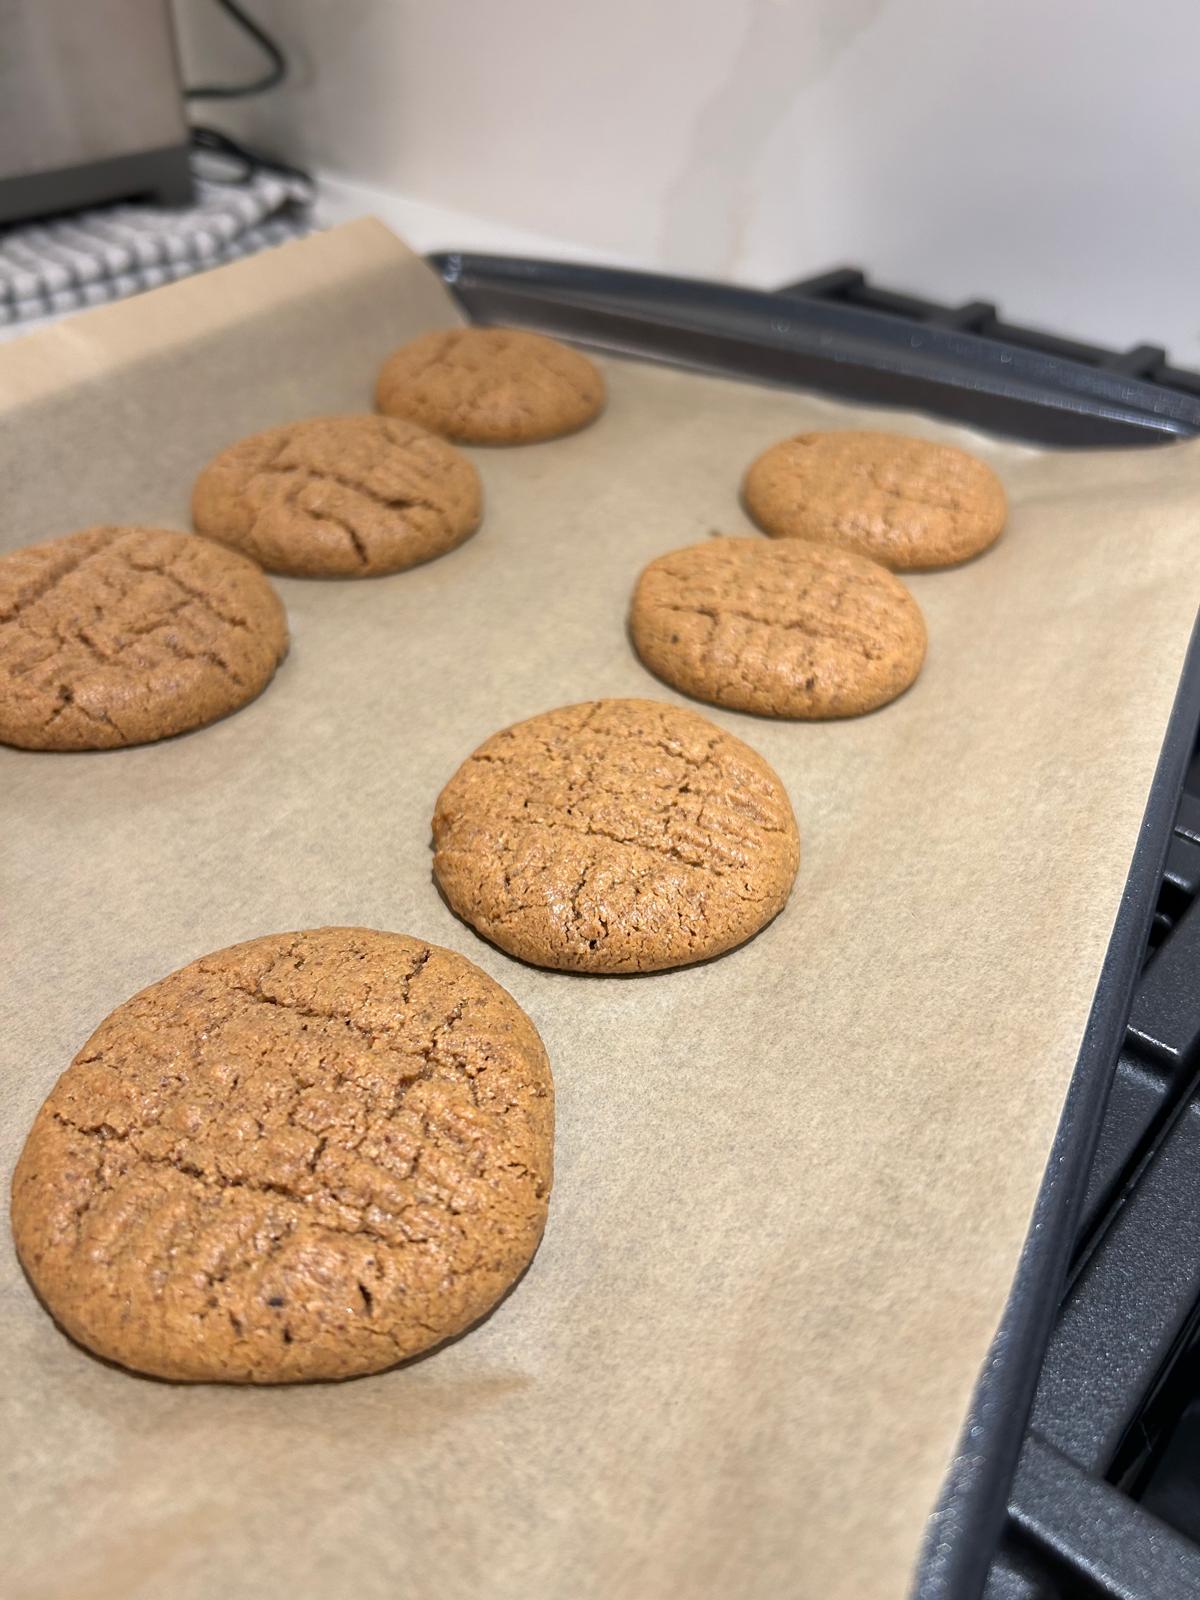
- Take a small ice cream scoop and scoop balls of the dough into your hand. Roll to form balls of approximately one inch in size. Place onto the baking sheet leaving space between each one.

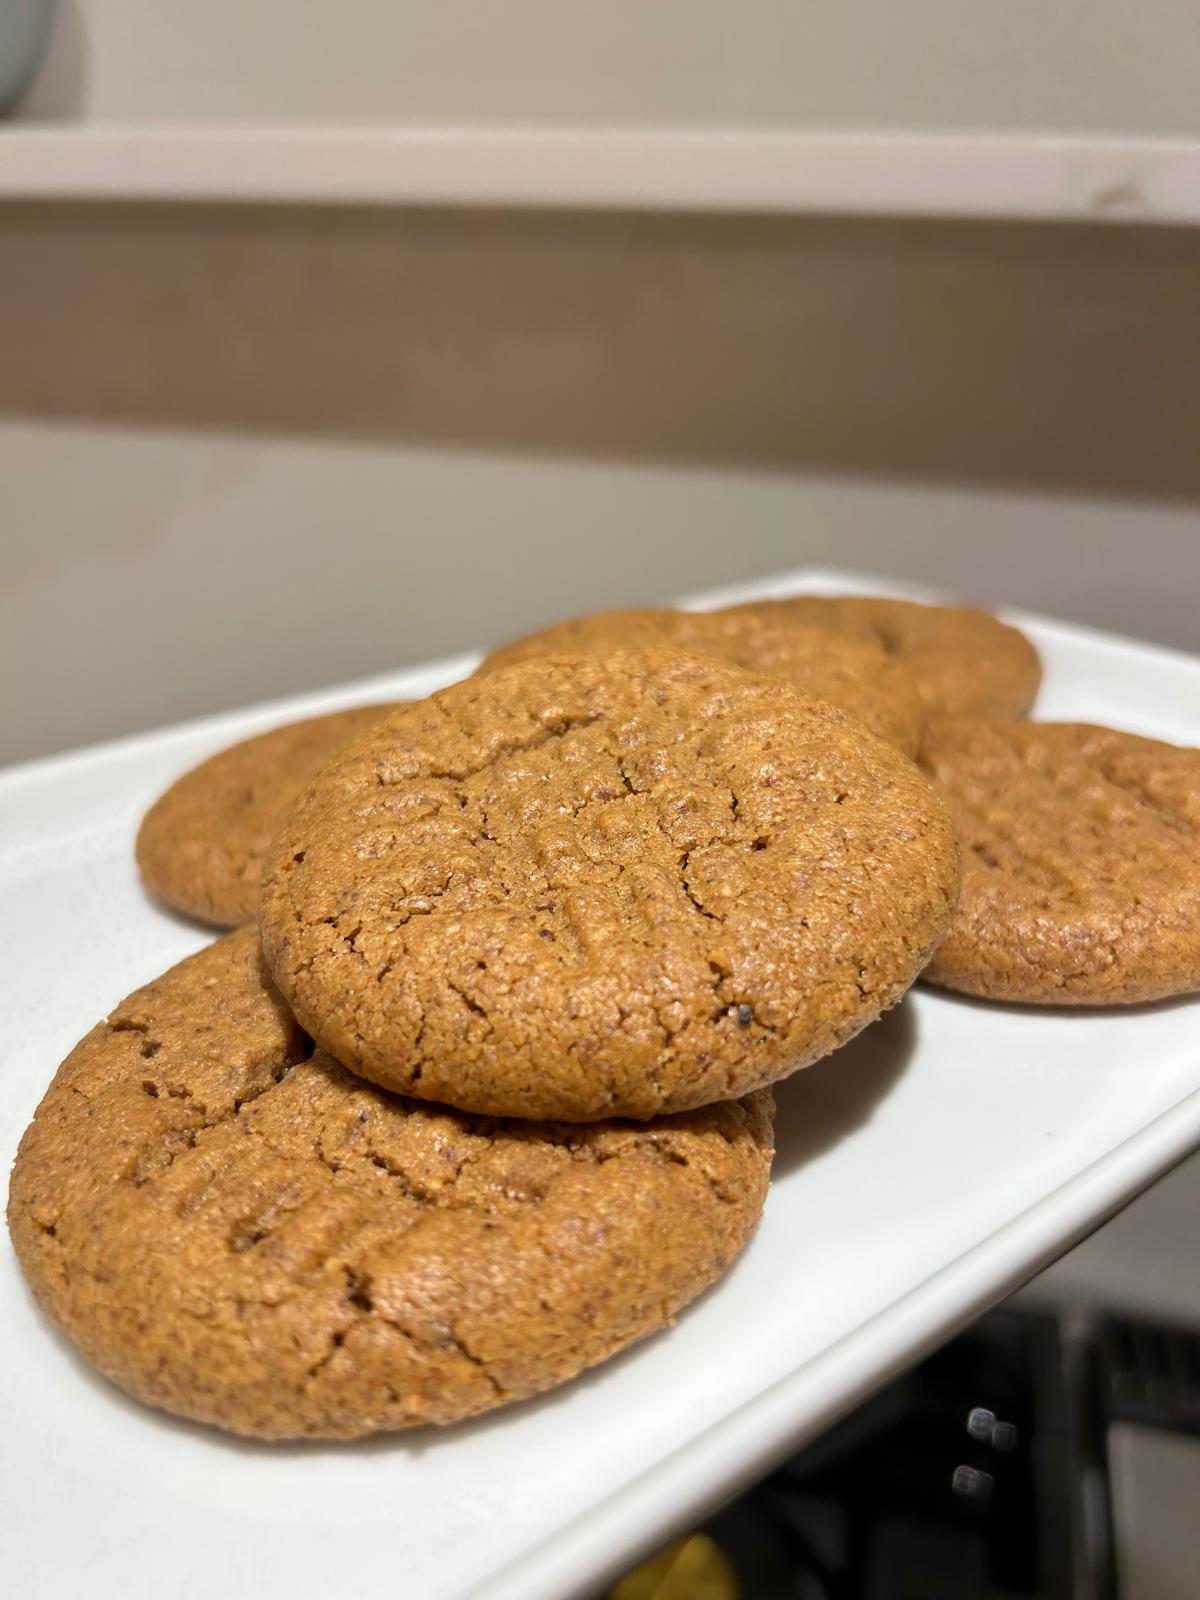
- Gently press each ball down with a fork then place into the oven for around 15 minutes.

- Allow to cool for ten minutes on the baking sheet then transfer to a cooling rack to cool completely (or eat them all warm as is what happened in my house).


Did you make this recipe?
Please let me know how it turned out for you! Leave a comment below and tag @HomeCookingWithJulieNeville on Instagram and hashtag it #CookingLikeJulie.
This post may contain affiliate links, please see our privacy policy for details.